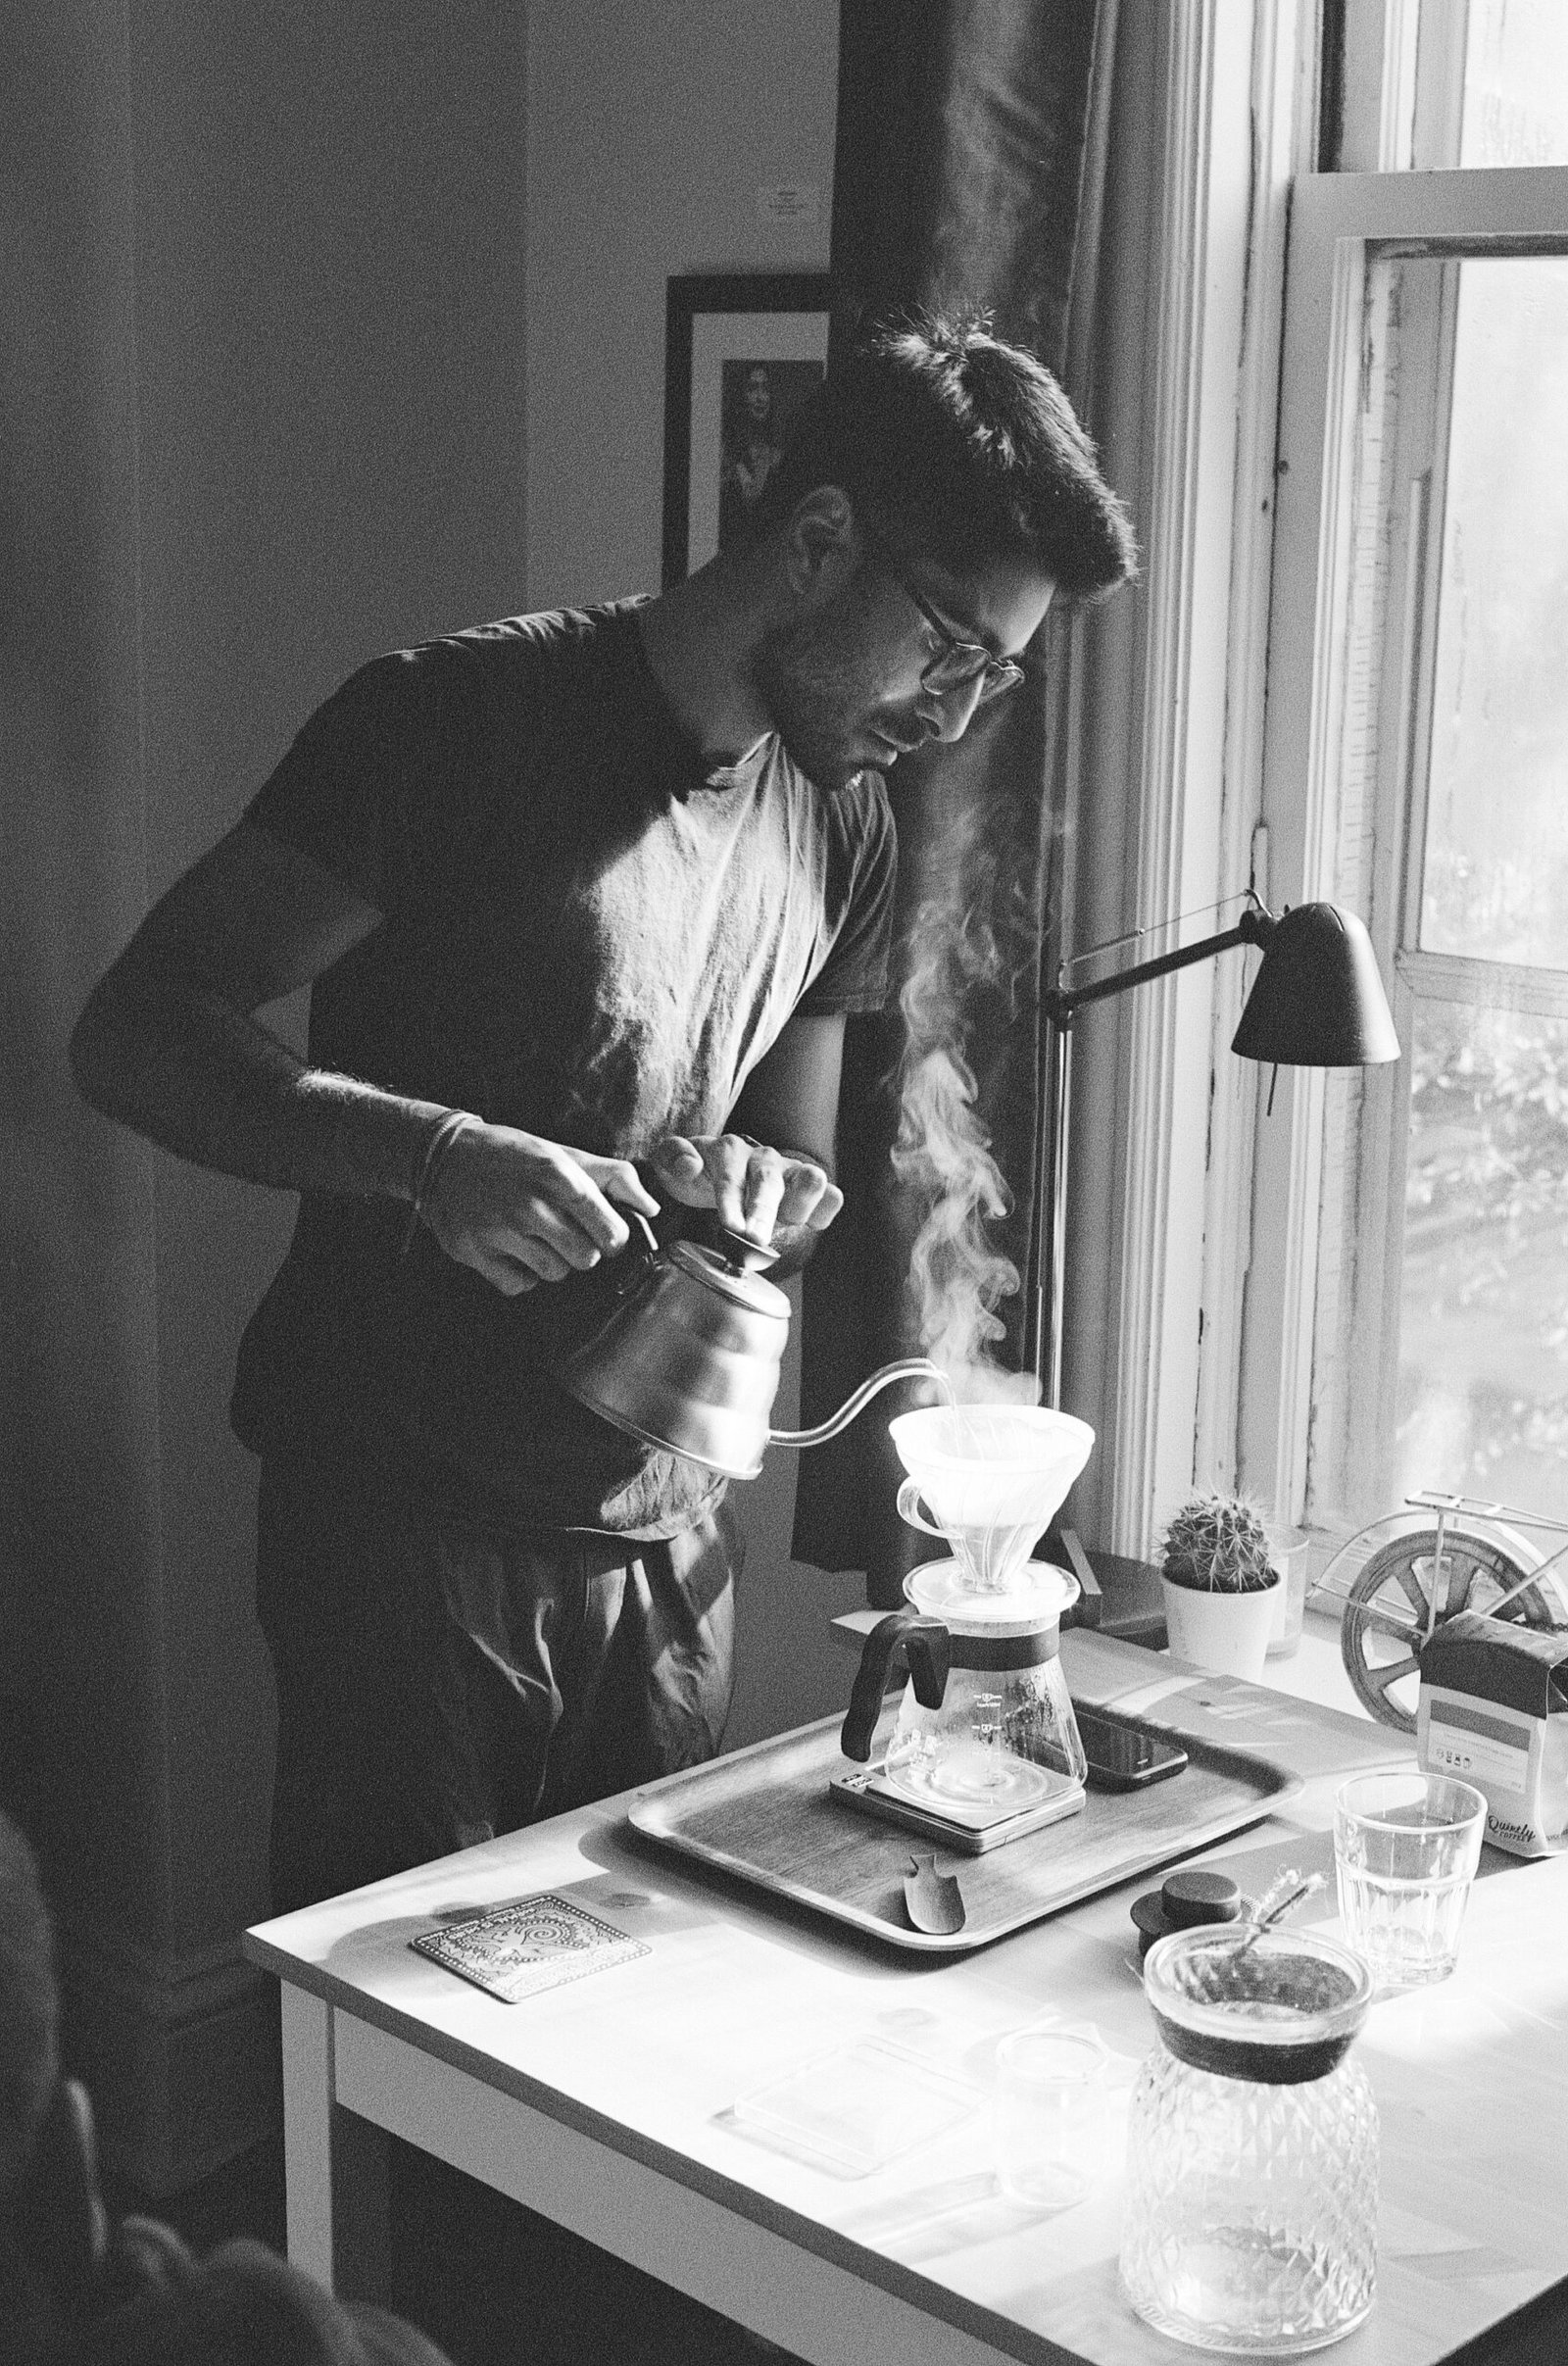
Equipment Recommendations
- Kit: Hario V60 pour over kit (brewer, decanter, paper filters)
- Brewer (cone): Hario V60 02 dripper (plastic, clear)
- Paper filters: Hario V60 02 filters
- Decanter: Timemore Coffee Server
- Scale: Smart Weigh scale
- Kettle: Bonavita Gooseneck Kettle
- Manual grinder: Timemore Slim Grinder
- Less expensive route from a reliable Aliexpress provider here (based on personal experience of mine and friends)
Materials
- 20g of coffee
- 400ml of water, ideally filtered (Brita will do) (but Ottawa tap water is luckily great as is)
- Hario V60-02 brewer
- 1 paper filter, V60-02 size
- Digital scale
- Timer (smartphone will do)
- Gooseneck kettle
- Decanter (or mug)
Method
- Pour water into the kettle and begin heating. If your kettle has a thermometer, aim for 94-96 C. If your kettle does not have a thermometer, take kettle off stove once it has hit a boil.
- In the meantime, hold the paper filter such that the curved edge is on the right-hand side. Fold the filter along the seam such that the seam is folded over, a 1-inch fold.
- Place the paper filter into the brewing cone and spread it out, taking the shape of the cone as much as possible.
- Place the cone with paper filter on a decanter or cup that you will brew in.
- Once the water has been heated up, rinse the paper filter by starting the pour in the middle, working your way to the upper edges, in concentric circle pours.
- While waiting for all the water to pass through before emptying the decanter/cup, begin the next step.
- If you grind your beans fresh, now is the time to measure out 20g of coffee and grind them for a medium-fine grind (somewhere between the grind for an Aeropress and French Press).
- Place cone and decanter/cup onto the scale, tare the scale, and add the ground coffee into the brewing cone. The scale should read 20g.
- Ensure that your water is still at the right temperature, either 94-96 C if you have a thermometer, or 2-3 minutes post-boil.
- Begin the timer.
- Pour 60ml of water as slowly as possible, starting in the middle and working your way out to the edge of the cone in concentric circles. This pour is called “the bloom!”
- Wait around 40 seconds, allowing the water to fully pass through the coffee. You’ll notice the coffee grounds dry up with no water left in sight in the grounds; this is when to move on to the next step.
- Begin the second and final pour. This pour is to be done at a slightly faster speed, starting in the middle toward the outside in concentric circles and eventually back in the middle, repeating this pour until the scale reads 320g.
- Wait 15 seconds, then give the cone one gentle spin in the same direction as the pouring of concentric circles, reincorporating the coffee on the edge of the cone into the brew.
- Remove the cone from the decanter/cup as soon as the coffee grounds dry up again. Check the timer for your total brew time for future reference.
For the next time you brew a pour over:
16. Adjust your next brew’s grind setting based on taste. If this coffee tastes too bitter, grind coarser next time. If it’s too sour/acidic, grind finer next time.
- finer grind = longer brew time; coarser grind = shorter brew time
Advanced step:
17. if the coffee tastes weak, you can split up the second and final pour (Step 13) into multiple pours to increase the strength. Sometimes I divide the final pour into two pours, so instead of 260 ml for the second and final pour, I pour 130 ml as a second pour, let the coffee bed become dry, and pour a final, third pour of 130 ml.
Don’t take the process too seriously: the only measure that really matters is if you’re enjoying your coffee 🙂


